User Interface
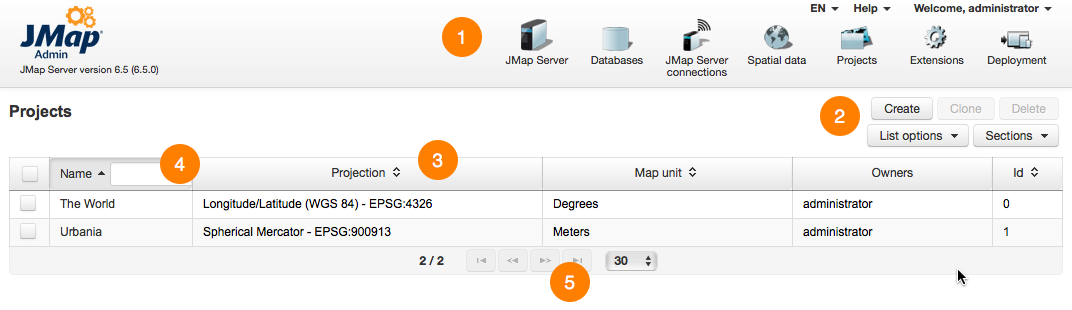
The following screen captures show the graphical user interface of JMap Admin. The different parts of the interface are described.
1 |
Click on the icons in the top section to access JMa pAdmin's main sections. |
2 |
For each section, the available actions or subsections are accessible by pressing the buttons located in the top right area. |
3 |
Resources are presented in tables. In each table, data can be sorted by clicking on the column headers. |
4 |
Filter fields are located in the headers of some columns. Enter some text or select values from the lists to filter the contents of the tables. |
5 |
You can change the number of table rows displayed at once. Use the arrows to navigate through the different pages. |
1 |
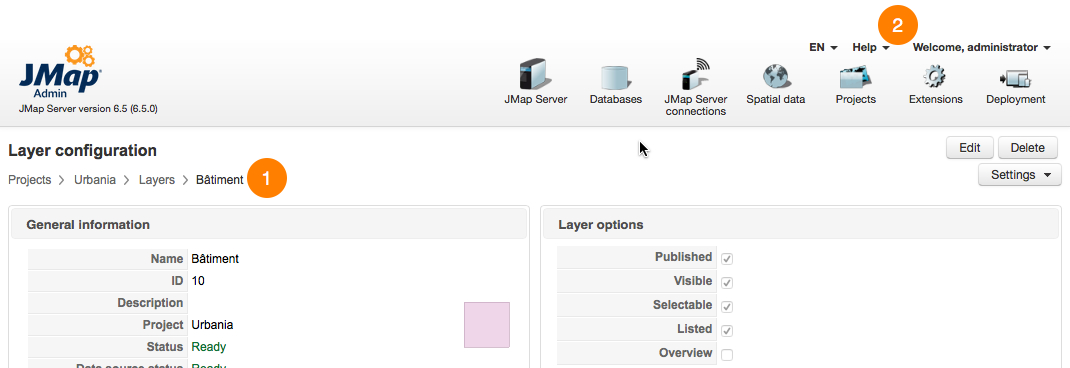
A breadcrumb indicates the currently displayed section and, when available, allows you to click on the text to jump directly to the corresponding section. |
2 |
This menu allows you to change the display language, access JMap administrator and extension manuals, as well as closing the JMap Admin session. |
1 |
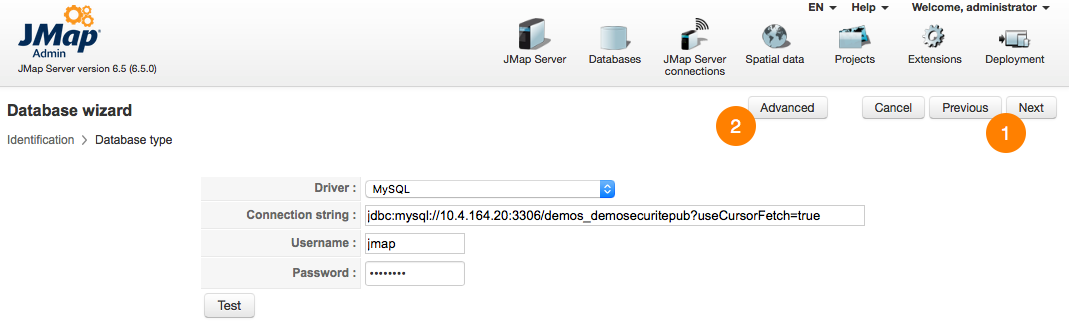
Many configuration tasks are done using wizards that guide you through each step of the process. You can press Next or Previous to navigate. |
2 |
There are Advanced sections that are accessible in the wizards. Those sections contain advanced parameters and options that usually don't need to be modified. |