Mouseover
![]() This section allows you to define mouseover settings for the layer, such as the content to be displayed, the color of the mouseover bubble, etc.
This section allows you to define mouseover settings for the layer, such as the content to be displayed, the color of the mouseover bubble, etc.

Mouseover configuration interface
1 |
The Attributes list allows you to select attributes and add them to the mouseover bubble's contents by pressing the button with the downward arrow. |
2 |
The Functions list allows you to select content formatting functions (bold, italic, etc.) and to add these to the mouseover bubble's contents by pressing the button with the downward arrow. |
3 |
Enter the mouseover bubble's contents. This can include static text, as well as functions displaying attribute values, images, etc. Mouseover bubbles also support javascript programming to perform mathematic operations as well as operations on character strings using attribute values. |
4 |
Select the mouseover bubble's background color for this layer. |
5 |
The following options modify mouseover behavior. •Mouse over visible: Enable or disable mouseover for the current layer. •Prevent text duplication: Avoid having content repeat itself within a bubble. |
6 |
Visibility thresholds define the scale range within which mouseover are displayed on the map. If the displayed map scale does not fall within the minimum and maximum values, the mouseover will not be displayed. If the options are not selected, thresholds will be ignored. |
You must provide the text that will be used as mouseover content. This text can include static parts (displayed as is), variable parts (functions replaced by other values when the map is displayed), simple javascript programs as well as HTML tags. For example, the elementValue(city) function, or ev(city) in its abbreviated form, will be replaced by the value of the city attribute of the pointed element, when displayed.
The mouseover text can span multiple lines. Simply write the text over more than one line and the mouseover bubble will use the same formatting.
Mouseover bubbles support HTML syntax, which can be useful to format the text or to include hyperlinks and images. Consider the following examples:
Mouseover content (copié-collé du manuel Admin anglais) |
Display |
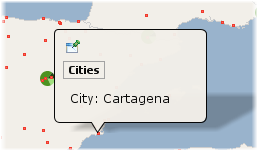
City : ev(CITY)
A simple example of static text with the value of an attribute. |
|
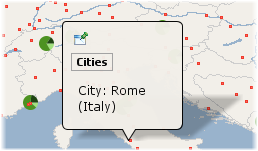
City: ev(CITY) (ev(COUNTRY))
Example containing static parts and displaying 2 attribute values on 2 lines. |
|
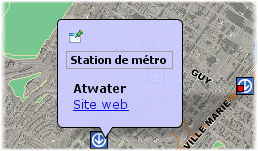
<b>ev(STATION_NAME)</b> <a href="ev(URL)">Site web</a>
An example of basic formatting using HTML tags and a hyperlink where the URL comes from the value of the URL attribute. |
|
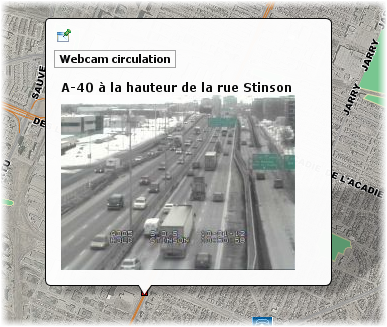
<b>ev(DESCRIPTION)</b> <img src="ev(IMAGE_URL)" height="175" width="234" />
An example of an HTML tag that takes the image URL from the value of the IMAGE_URL attribute |
|
Area: ev(AREA_KM2) km2 <script> var SQ_KM_IN_SQ_MI = 2.58998811; var area_sq_mi = ev(AREA_KM2) / SQ_KM_IN_SQ_MI; println(area_sq_mi.toFixed(1) + " sq. mi"); </script>
An example of a <script> tag with javascript code. The value of the AREA_KM2 attribute is converted from square kilometers to square miles. |
|