The image below displays the main components of the interface; the details on these elements are provided in the following sections.
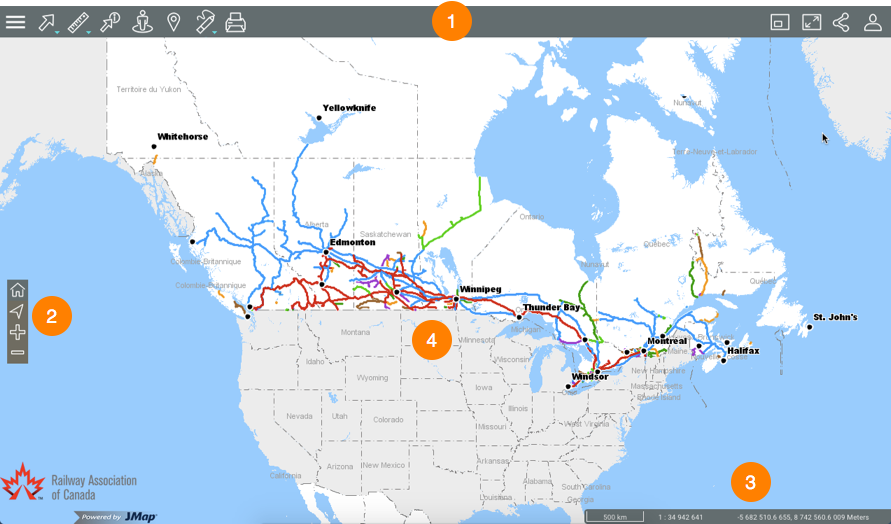
1 |
Toolbar to access functionality: |
2 |
Map navigation tools:  Current position (geolocation) Current position (geolocation) |
3 |
|
4 |
Map interface. |
The sidebar allows you to access the data organized into layers as well as the searches configured for the Atlas.
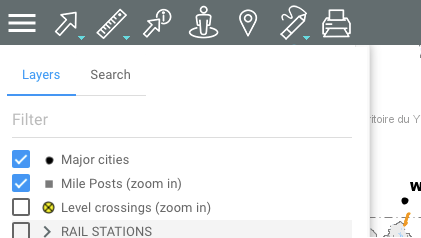
You can manage the display of the layer and search menu.
1.Click on  Sidebar to always display the sidebar menu.
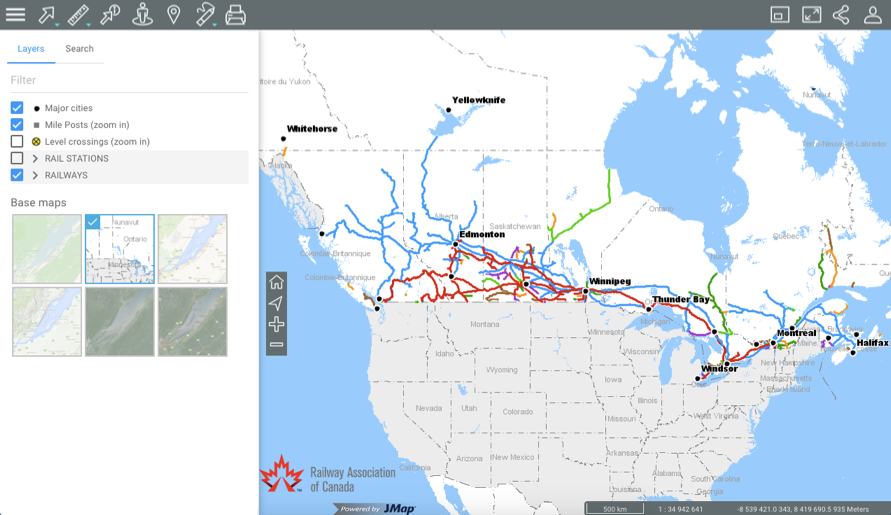
2.Click on  Sidebar to hide the sidebar and widen the map interface.
This section allows you to access features to share the map displayed.
1.Click on  Share features to open the menu.
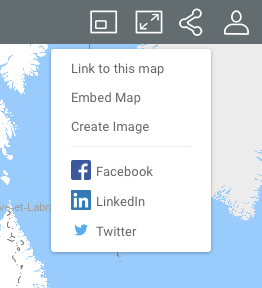
2.Click on Link to this map to display the link to the map. The link displays with instructions to copy it to the clipboard.

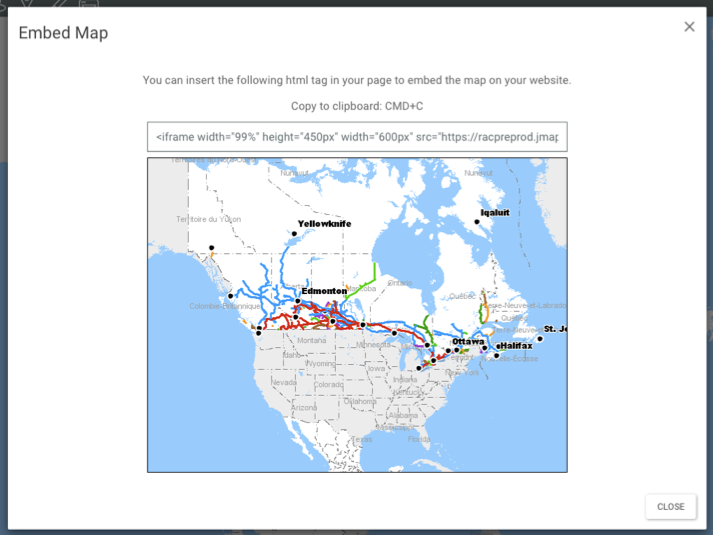
3.Click on Embed Map to embed the map in a website. The interface displays the text to be copied and pasted in an HTML page in order to embed the map.
4.Click on Create Image to produce a .PNG file of the map displayed in the map interface.
5.Click on Facebook, LinkedIn or Twitter to publish the map in your social media account. You must enable pop-up windows to use these options.
6.Click on  Share features to close the menu.
This section allows you to configure preferences for the Atlas's map interface, to access the online help and to log out.
1.Click on  Options to open the menu.
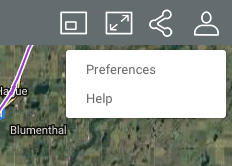
2.Click on Preferences to open a window allowing you to define the Atlas's measurement units.
3.Click on Distance unit to select the units used for measurements.
4.Click on Display unit to define the pointer's position units displayed in the map interface's geographic information section.
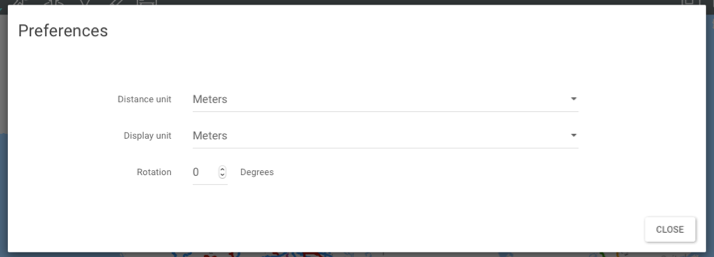
5.Click on Rotation to determine the rotation angle to be applied to the map interface.

6.Click on Help to access the online User Manual.
7.Click on Options to close the drop-down menu.


