Filtering Projects
Table of contents
- Creating a new filter
- Editing a filter
- Deleting a filter
- Filter configuration criteria
To view a specific set of projects, you can use filters configured based on various criteria: scheduled dates of work, modification date, status, initiating partner, area, type, phase, realization probability, project number or project name, among others.
You can create, save, edit or delete filters.
To access filters:
-
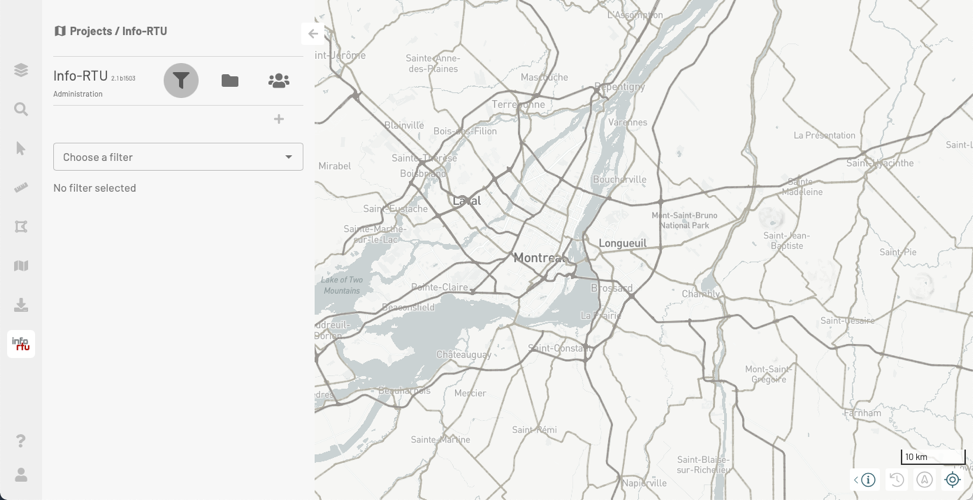
Click on the Filters
 icon in the Info-RTU panel.
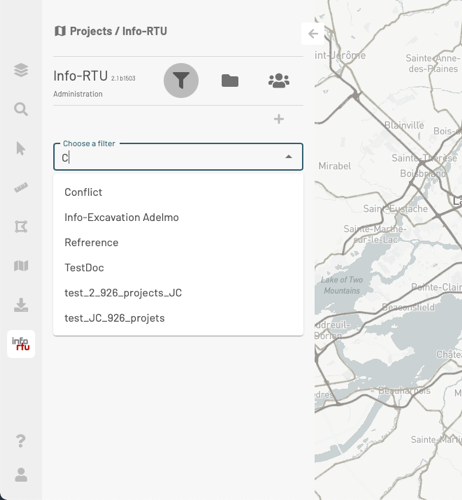
The Filter name field allows you to select one of the available filters in the drop-down list. You can enter a filter name to speed up the search.

-
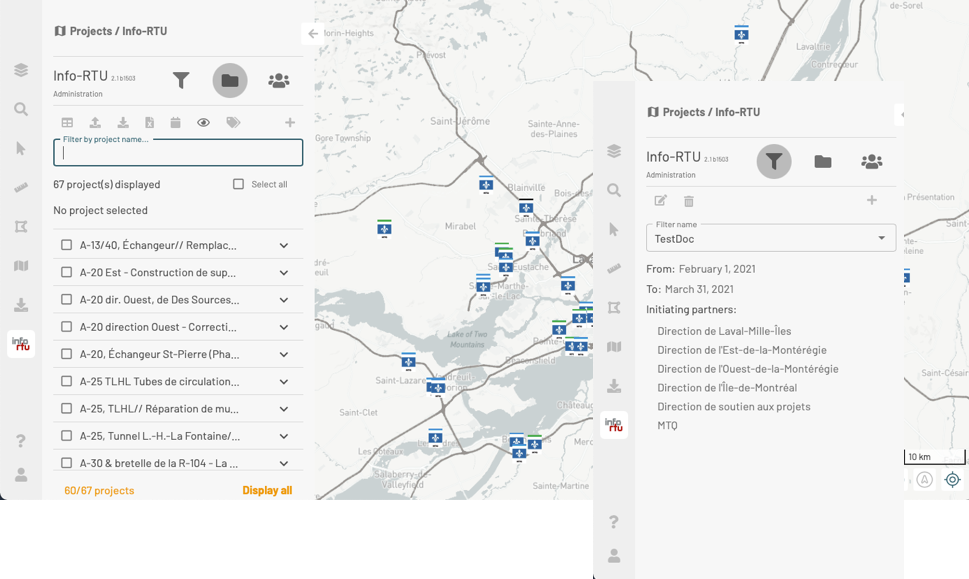
Select your filter, and the changes will be automatically applied. The Projects
 panel displays and shows the projects whose details match the filter criteria. They are also displayed on the map.
The filter details are displayed in the Filters
 panel.
Creating a new filter
If none of the existing filters meet your needs, you can create a new filter. In the Filters  panel:
-
Click on
 Add new filter to open the filter creation interface.
 -
Enter the Filter name.
-
Enter or select values to define the filter’s criteria. The criteria and their settings are described in the section titled Filter configuration criteria.
-
Click on CREATE. In the panel, the description of the filter you just created is displayed. The Projects
 panel displays and shows the projects whose details match the filter criteria. These projects are also displayed on the map.
Editing a filter
You can edit an existing filter. In the Filters  panel:
-
Select the filter in the Filter name field.
-
Click on
 Start editing filter. The criteria can now be edited. In other words, you can change all the values.
 -
Edit the criteria values as needed.
-
Click on UPDATE to save the changes made in the same filter. The filter automatically applies to the projects. The Projects
 panel displays and shows the projects whose details match the criteria of the modified filter. These projects are also displayed on the map.
If you wish to save your changes in a new filter or in another filter than the one you just edited:
-
Click on APPLY to apply the filter. The Filter name field will display Unsaved filter.
-
Click on
 Create new filter or update an existing one. The appropriate window opens.
 -
If you wish to create a new filter (the option is selected by default), enter the name of the filter and click on CREATE. The Projects
 panel appears and displays only the projects whose details match the criteria of the filter you created. These projects are also displayed on the map.
 -
If you wish to update an existing filter, unselect the Create a new filter option and select the filter in the drop-down list of the Filter to update field.
-
Click on UPDATE to save the changes made to the filter. The Projects
 panel displays and shows the projects whose details match the criteria of the updated filter. These projects are also displayed on the map.
Deleting a filter
To delete a filter:
-
Select the filter in the drop-down list of the Filter name field. You can filter the values in the list by entering part of the filter name.
-
Click on
 Delete filter. A box appears, asking you to confirm that you want to delete the filter.
 -
Click on DELETE to delete the filter.
Filter configuration criteria
Several criteria allow you to configure a range of filters. Some of these criteria relate to the details of projects, and others have to do with the functionality of the filter itself.
Project-related criteria
Scheduled dates of work
Allows you to filter projects based on the dates when the work is scheduled to take place.
The filter selects projects whose scheduled work period intersects the period defined by the filter dates:
-
Projects that end on the start date of the filter or later,
-
Projects that start on the end date of the filter or before.
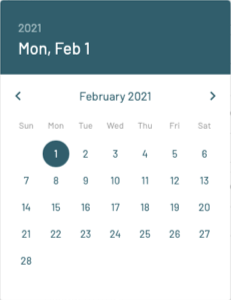
To configure the filter, indicate a start and end date in the calendar. In the calendar, you can click on the year to select it in the list.

Select the Relative from now option if you want the filter to include all projects whose work is in progress as of the chosen start date and until the date of application of the filter.
Status
Allows you to filter projects based on their status. Status categories are described in the Project status section.
Select one or more values in the drop-down list. To speed up your search, you can filter the values in the list by typing the desired status, in whole or in part. Check Select all in order to select all values in the list.
The selected values are displayed in the selection range.
Initiating partners
In the drop-down list, select the partner or partners who initiated the project. To speed up your search, you can filter the values in the list by typing the name of the desired partner, in whole or in part. Click on a value once to select it. The value is colored when it is selected.
Check Select all in order to select all values in the list or check Unselect all to unselect all values in the list.
Types
In the drop-down list, select the project type or types. The project types that are available in the list depend on the initiating partners selected in the Initiating partner field.
To speed up your search, you can filter the values in the list by typing the desired type, in whole or in part. Check Select all in order to select all values in the list.
The selected values are displayed in the selection range.
Phases
In the drop-down list, select the project phase or phases. To speed up your search, you can filter the values in the list by typing the desired phase, in whole or in part. Check Select all in order to select all values in the list.
The selected values are displayed in the selection range.
Project name
Enter the exact name of the project in the range. The filter will only retrieve this project.
Reference numbers
Enter the exact reference number of the project in the range. The filter will only retrieve this project.
Own initiator
Select this option to include the projects you have initiated.
Projects in conflict
Select this option to include the projects that are in conflict. A spatial analysis of the projects is performed based on the other filter settings.
The analysis shows the projects that are in conflict based on the selected settings.
Display past projects
Check this option to select the projects whose scheduled work dates are within the filter and precede the current date.
Realization probability greater or equal to
You can filter projects based on the likelihood of their completion.
Indicate the probability as a percentage value (a value between 0 and 100). The filter will consider projects whose probability is equal to or greater than the value entered.
Filter features
Filtering
You can use spatial criteria to filter projects. This will display only the projects located in a given area.
Select the desired option: None, By area of jurisdiction, By current map extent.
Zoom on a map extent when selected
This criteria will place a specific region in the center of the map when the filter is applied.
Apply current map rotation when opening the filter
Check this option to automatically apply the current map rotation when you apply the filter. If you do not select this option, the north will be located at the top of the map.
Description
You can add a description to the filter. You have up to 250 characters for the description.
Default filter
Select this option to indicate that the filter is applied by default when opening your Info-RTU Web session.