JMap Web Used on a Computer or Tablet
Table of contents
The graphical interface of the application allows you to access all data and functionality.
The graphical interface adapts to the device used to access the application. If accessed with a computer or smartphone, the graphical interface will display all the features. On a smartphone, the interface only displays navigation and search functions, given the device’s limited surface.
Note: the word “click” should be read as “touch” or “tap” if you are using a touch screen device.
The Graphical Interface
The image below displays the main components of the interface; the details on these elements are provided in the following sections.
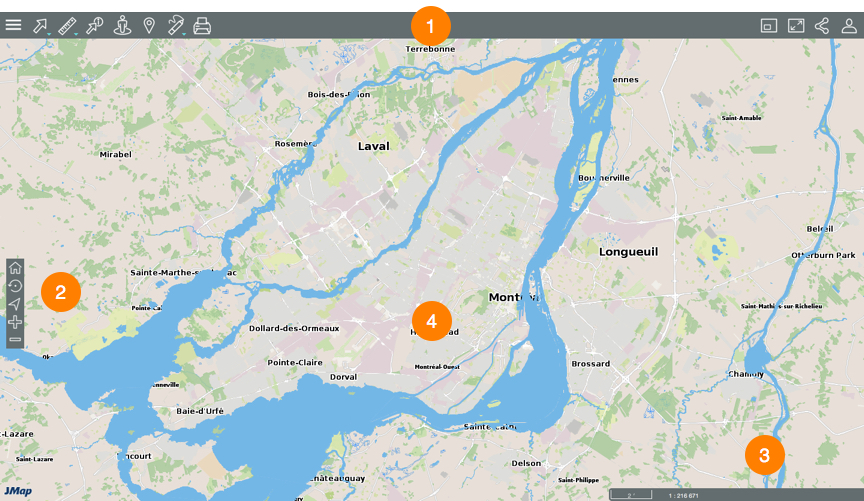
| 1 | Toolbar to access specific functionality: Sidebar Sidebar Selection tools Selection tools Measurement tools Measurement tools Information reports Information reports Google Street View Google Street View Google Directions Google Directions Print map Print map Overview map Overview map Full screen Full screen Share features Share features Options Options |
| 2 | Map navigation tools: Initial view Initial view Previous view Previous view Geolocation (available only for applications using the https protocol). Geolocation (available only for applications using the https protocol). Zoom In Zoom In Zoom Out Zoom Out |
| 3 | Geographic information about the displayed map. |
| 4 | Map interface. |
Sidebar
The sidebar allows you to access the data organized into layers, the searches configured for the application, the user’s customized maps, and any documents attached to the map elements.
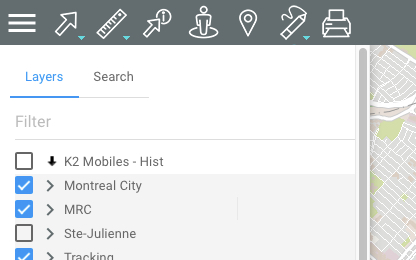
You can manage the display of the layer and search menu.
-
Click on
 Sidebar to always display the sidebar menu.
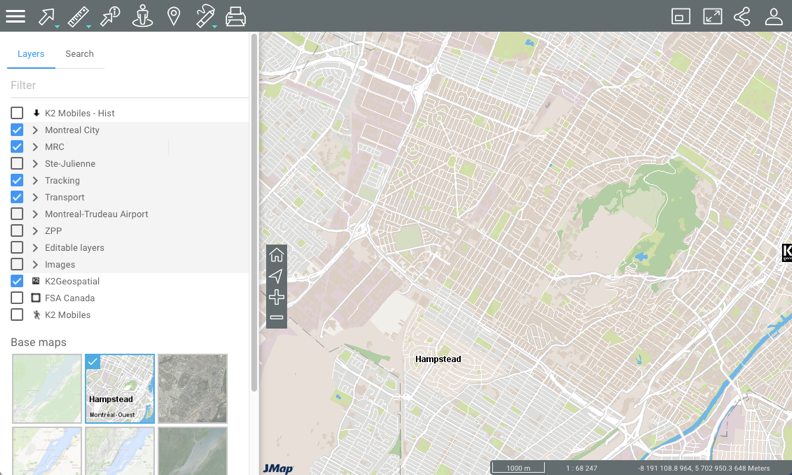
-
Click on
Sidebar to hide the sidebar and widen the map interface.
Share features
This section allows you to access features to share the map displayed.
-
Click on
 Share features to open the menu.
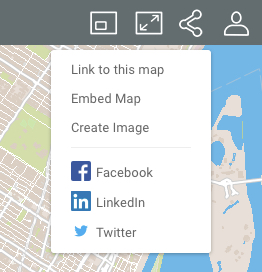
-
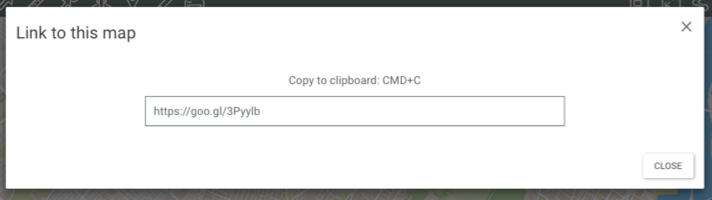
Click on Link to this map to display the link to the map. The link displays with instructions to copy it to the clipboard.
-
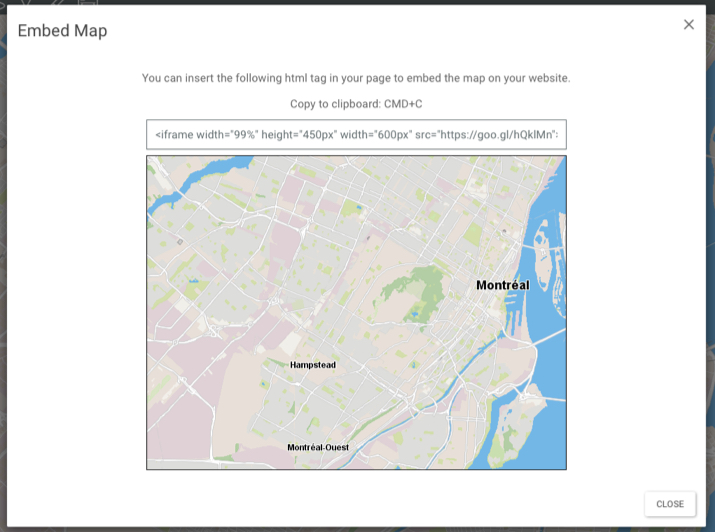
Click on Embed Map to embed the map in a website. The interface displays the text to be copied and pasted in an HTML page in order to embed the map.
-
Click on Create Image to produce a .PNG file of the map displayed in the map interface.
-
Click on Facebook, LinkedIn or Twitter to publish the map in your social media account. You must enable pop-up windows to use these options.
-
Click on
Share features to close the menu.
Options
This section allows you to configure preferences for the application’s map interface, to access the help and to log out.
-
Click on
 Options to open the menu.
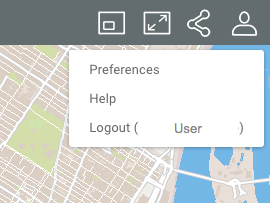
-
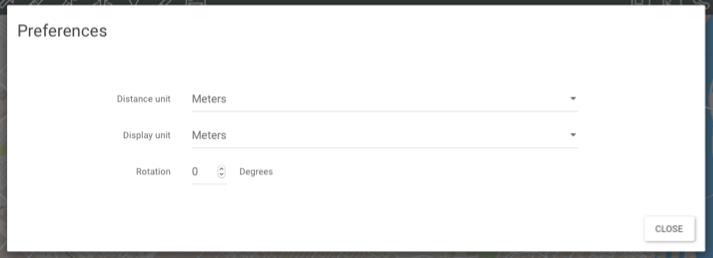
Click on Preferences to open a window allowing you to define the application’s measurement units.
-
Click on Distance unit to select the units used for measurements.
-
Click on Display unit to define the pointer’s position units displayed in the map interface’s geographic information section.
-
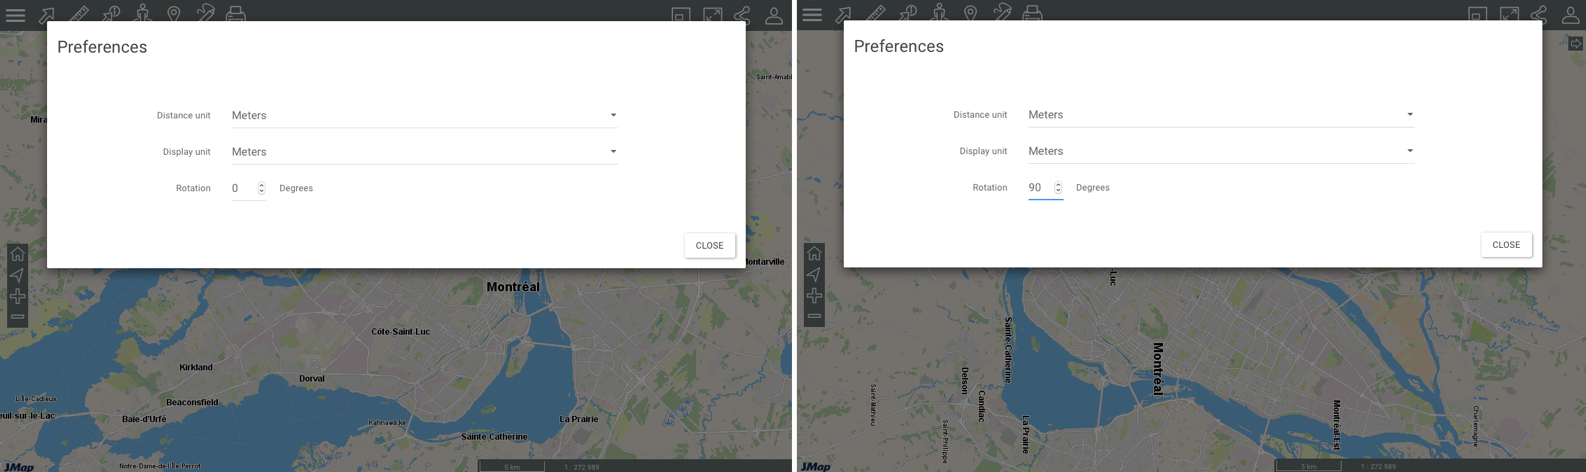
In the Rotation field, indicate the rotation angle to be applied to the map interface.
-
Click on Help to access the online user guide.
-
Click on Change Password to define a new password for logging into the application. Note: this application is only available if your user account is managed with JMap DB.
-
Click on Logout to log out of the application. You will be directed to the application login interface.
-
Click on Options to close the drop-down menu.
Navigating on the Map
This section presents the tools that allow you to navigate on the map as well as the geographic information pertaining to the map displayed.
Navigation tools
The following buttons allow you to navigate on the map:
| Icon | |
|---|---|
| Full screen Adjusts the map interface to the full size of the screen. 1. Click on to enlarge the interface to full screen or to return to the initial interface in the web browser. |
| Overview map Opens a window displaying an overview of the map. A grey rectangle shows the view displayed on the screen. 1. Click on and move the grey rectangle to navigate on the map.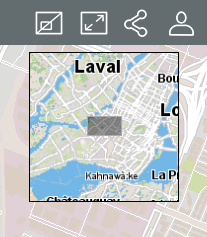 |
| Initial view Allows you to return to the initial view displayed when opening the application. 1. Click on to return to the initial view. |
| Previous view Allows you to return to previous view (extent, scale, etc.). |
| Current position (Geolocate) 1. Click on . The navigator will request your authorization in order to access your device’s coordinates. The icon turns blue  . . 2. Authorize the application to access your coordinates. The point where you are located (geographic coordinates of your computer or mobile device) is centered in the map and shown in blue, surrounded by an area that indicates the imprecision of the location. 3. Click on again to disable the function. The icon turns grey . Your location remains centered in the map.The geolocation function must be enabled in your web browser. |
| Zoom In 1. Click on this icon to enlarge the center of the map (the zoom factor is determined by default in the web browser you use). If you are using a mouse, you can zoom in using its scroll wheel. You can also press the Shift key of your keyboard while simultaneously clicking the left mouse button, then drag the mouse pointer to the desired area. A red rectangle displays to help you select the zone to enlarge with precision. |
| Zoom Out 1. Click on this icon to reduce the center of the map (the zoom factor is determined by default in the web browser you use). You can zoom out using your mouse’s scroll wheel. |
If you are using a mouse, follow these steps to drag the map:
-
Click the left mouse button.
-
Drag the map while holding the left mouse button.
-
Release the left mouse button when you are on the desired position.
If you are not using a mouse, follow these steps to drag the map:
-
Touch the map at the desired point.
-
Hold your finger down and drag the map to the desired position.
Geographic information
At all times, the geographic information regarding the current map is displayed in a bar located in the lower right corner of the map interface.
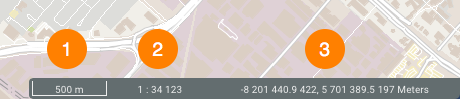
| 1 | The graphic scale according to which the map is displayed. The distance is expressed in the unit selected in the Options. |
| 2 | Numeric scale according to which the map is displayed. The distance is expressed in the unit selected in the Options. |
| 3 | Geographic coordinates of the mouse pointer, expressed in the unit selected in the Options. |
You can also indicate a specific display scale for the map. To do so:
-
Click on the bar displaying geographic information. The scale window opens.
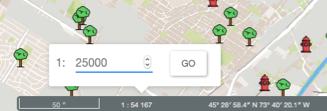
-
Enter the scale at which you wish to display the map.
-
Click on GO. The map will be displayed according to the scale indicated.
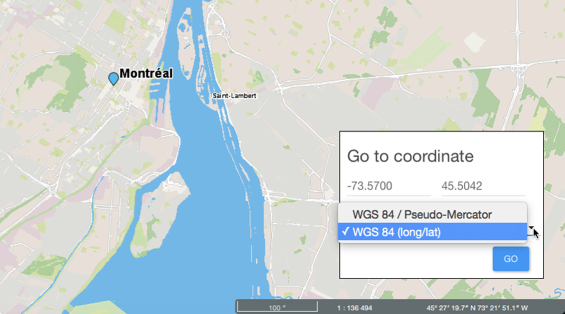
Go to coordinates
You can insert a marker in the map by specifying its geographic coordinates:
-
Click the geographic information bar in the lower-right corner of the map interface to open the Go to coordinate window.
-
Enter the coordinates. You have two choices of projection system, that of the project and Latitude/Longitude WGS 84 (long/lat). A blue marker appears at the specified coordinate. When you click on the map interface the window closes but the marker persists.