Creating and Managing Customized Maps
Table of contents
You can created customized maps in JMap NG to save them and share them in other applications or users. Customized maps recreate a specific map environment, including its layers, thematics, scale, measurements, annotations, and element selections.
To create a customized map, you must open the panel named My map contexts.
The My maps panel
The panel named My maps lists all the customized maps. It also contains the tools to create new ones and share them.
-
Click on
 to open the My maps panel. The icon will change color
  .
.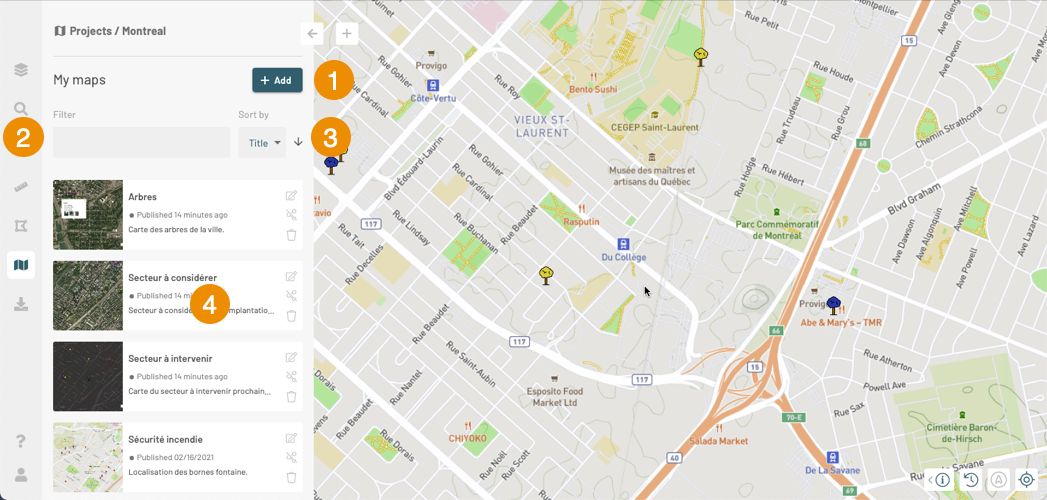
1 This tool allows you to add a customized map. The section titled Creating a customized map lists the steps to do this. 2 The Filter field allows you to filter maps based on the terms that you enter and that are found in the title or description of the maps. 3 Sort by allows you to sort maps based on the date they were created or their title:
1. Select the option in the drop-down menu.
2. Click on the arrow to indicate if you wish to sort the maps in ascending or descending order.4 Each customized map is displayed in a card that includes its title, its description, and tools to do the following:  Update the map: If the data has changed, click on this icon in order for the customized map record to include the most recent version of the map.
 Share the map: Contains tools to share the map and copy it to the clipboard. For details on these functions, refer to Sharing a customized map.
 Delete map context: Click on the icon to delete the map.
You can change the title and description of the map:
1. Click on the title or description to place the cursor in the appropriate field.
2. Change the title or description.
3. Click on to save the changes or click on
  to cancel them.
 -
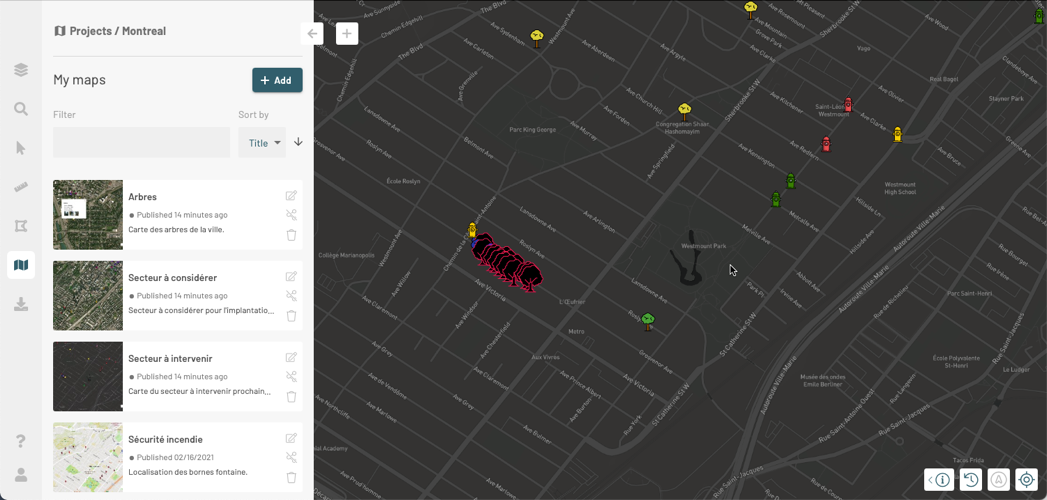
Click on the map of your choice to display it.
Creating a customized map
To create a new customized map:
-
Click on
to open the My maps panel. The icon changes color . -
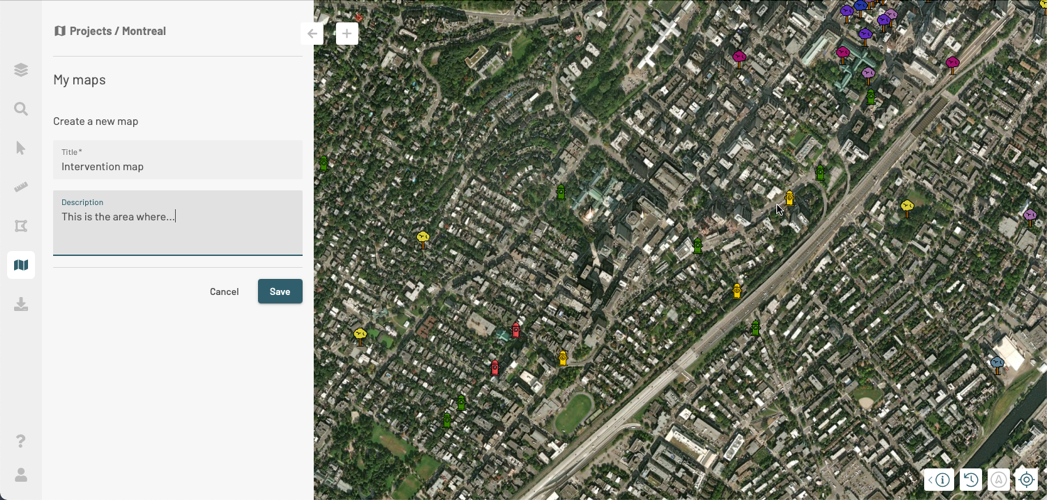
Click on Add. The interface to add a new map is displayed.
-
Enter a title for the map in the Title field. You must give your map a title in order to save it.
-
If needed, you can enter a description in the Description field.
-
Click on Save to save the map. The map’s card will be displayed in the My maps panel.
Sharing a customized map
To share a customized map:
-
Click on
to open the My maps panel. The icon changes color . -
In the card of the map you want to share, click on
to open the sharing options. Two options are available: Share the map context and Share the map context, then copy the link in clipboard. -
Click on Share the map context. The icon changes color
 , indicating that sharing is enabled. This function creates a URL for your customized map.
 -
Click on Share the map context, then copy the link in clipboard. The icon changes color
, indicating that sharing is enabled. This function creates a URL of your customized map and copies it to the clipboard. A message displays, confirming that the link has been copied to the clipboard.You can share this link with people, who, with the appropriate access privileges, will be able to open a JMap NG application displaying your customized map (with its measurements, annotations, selected elements, etc.).
-
Click on
to open your sharing options: Don’t share the map context, link will be disabled and Copy shared link in clipboard. -
Click on Don’t share the map context, link will be disabled. The icon changes color and switches to
, indicating that sharing is disabled.People who have the link to your customized map can access the project’s standard interface in JMap NG. They will receive a message indicating that the sharing of the customized map is disabled.